Docassemble: quickstart in Google Cloud Platform

Docassemble
Docassemble is a well known open-source system for guided interviews and document assembly. I don’t yet have much experience of using the platform but, from the docs and tutorials, it looks powerful and extensible.
If you want to start playing with docassemble you either have to access it through a third-party supplier, or deploy it yourself using docker. The docker deployment instructions are comprehensive and a number of people have made videos to guide you through the process. However, I couldn’t see anything specific about how to deploy on Google Cloud Platform (the docs focus on AWS and Azure). I wanted to add something on how to do this as:
- GCP is what I got started on (my master’s course was taught using GCP); and
- you can get going on GCP without ever having to look at a commnand line, which may or may not be a good thing.
I also think quite a lot of lawyers get referred to docassemble as something to experiment / learn a bit of coding with. So I wanted to write a set up guide that assumes abosolutely zero prior knowledge.
Basic deployment on Google Cloud Platform
Assuming you have: (i) a google account (e.g. a google email address); and (ii) otherwise, absolutely no knowledge of docker or cloud-based computing, this is what you do:
Step 1
Head over to Google Cloud Platform and hit “Try it free”.
Step 2
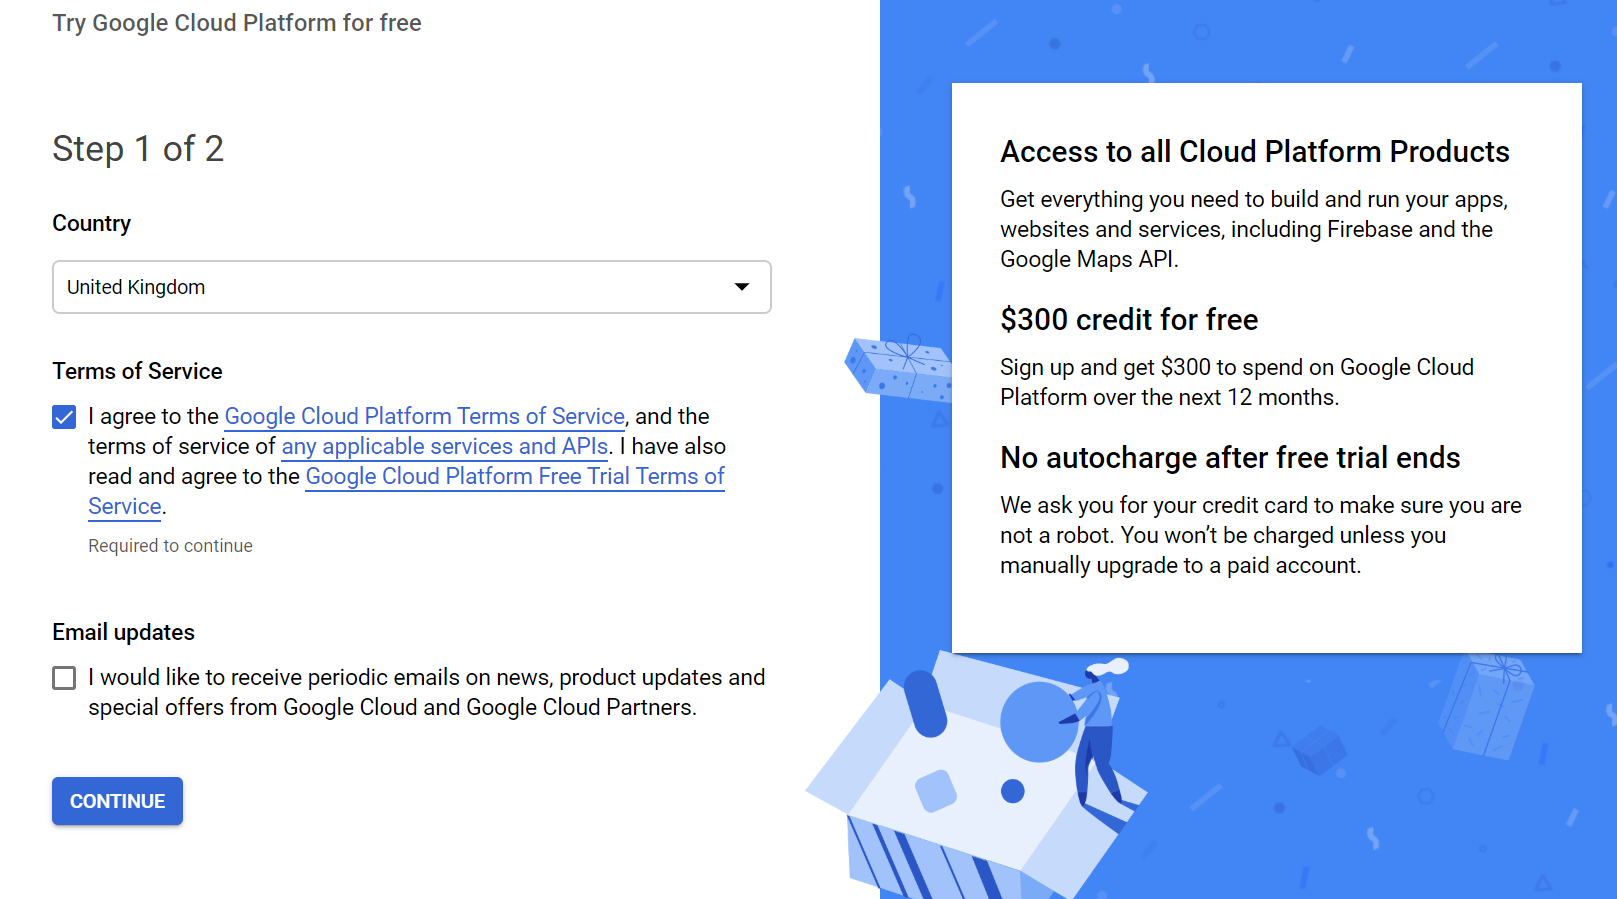
Complete the 2 step registration.
It costs money to run things in the cloud, but Google will give you a bunch or credits to get started (more than enough to play with docassemble for a few months). You do have to provide credit card details to register but it promises not to autocharge you unless you manually upgrade to a paid account.
See step 10 for how to delete your docassemble deployment to avoid running down your credits.
Step 3
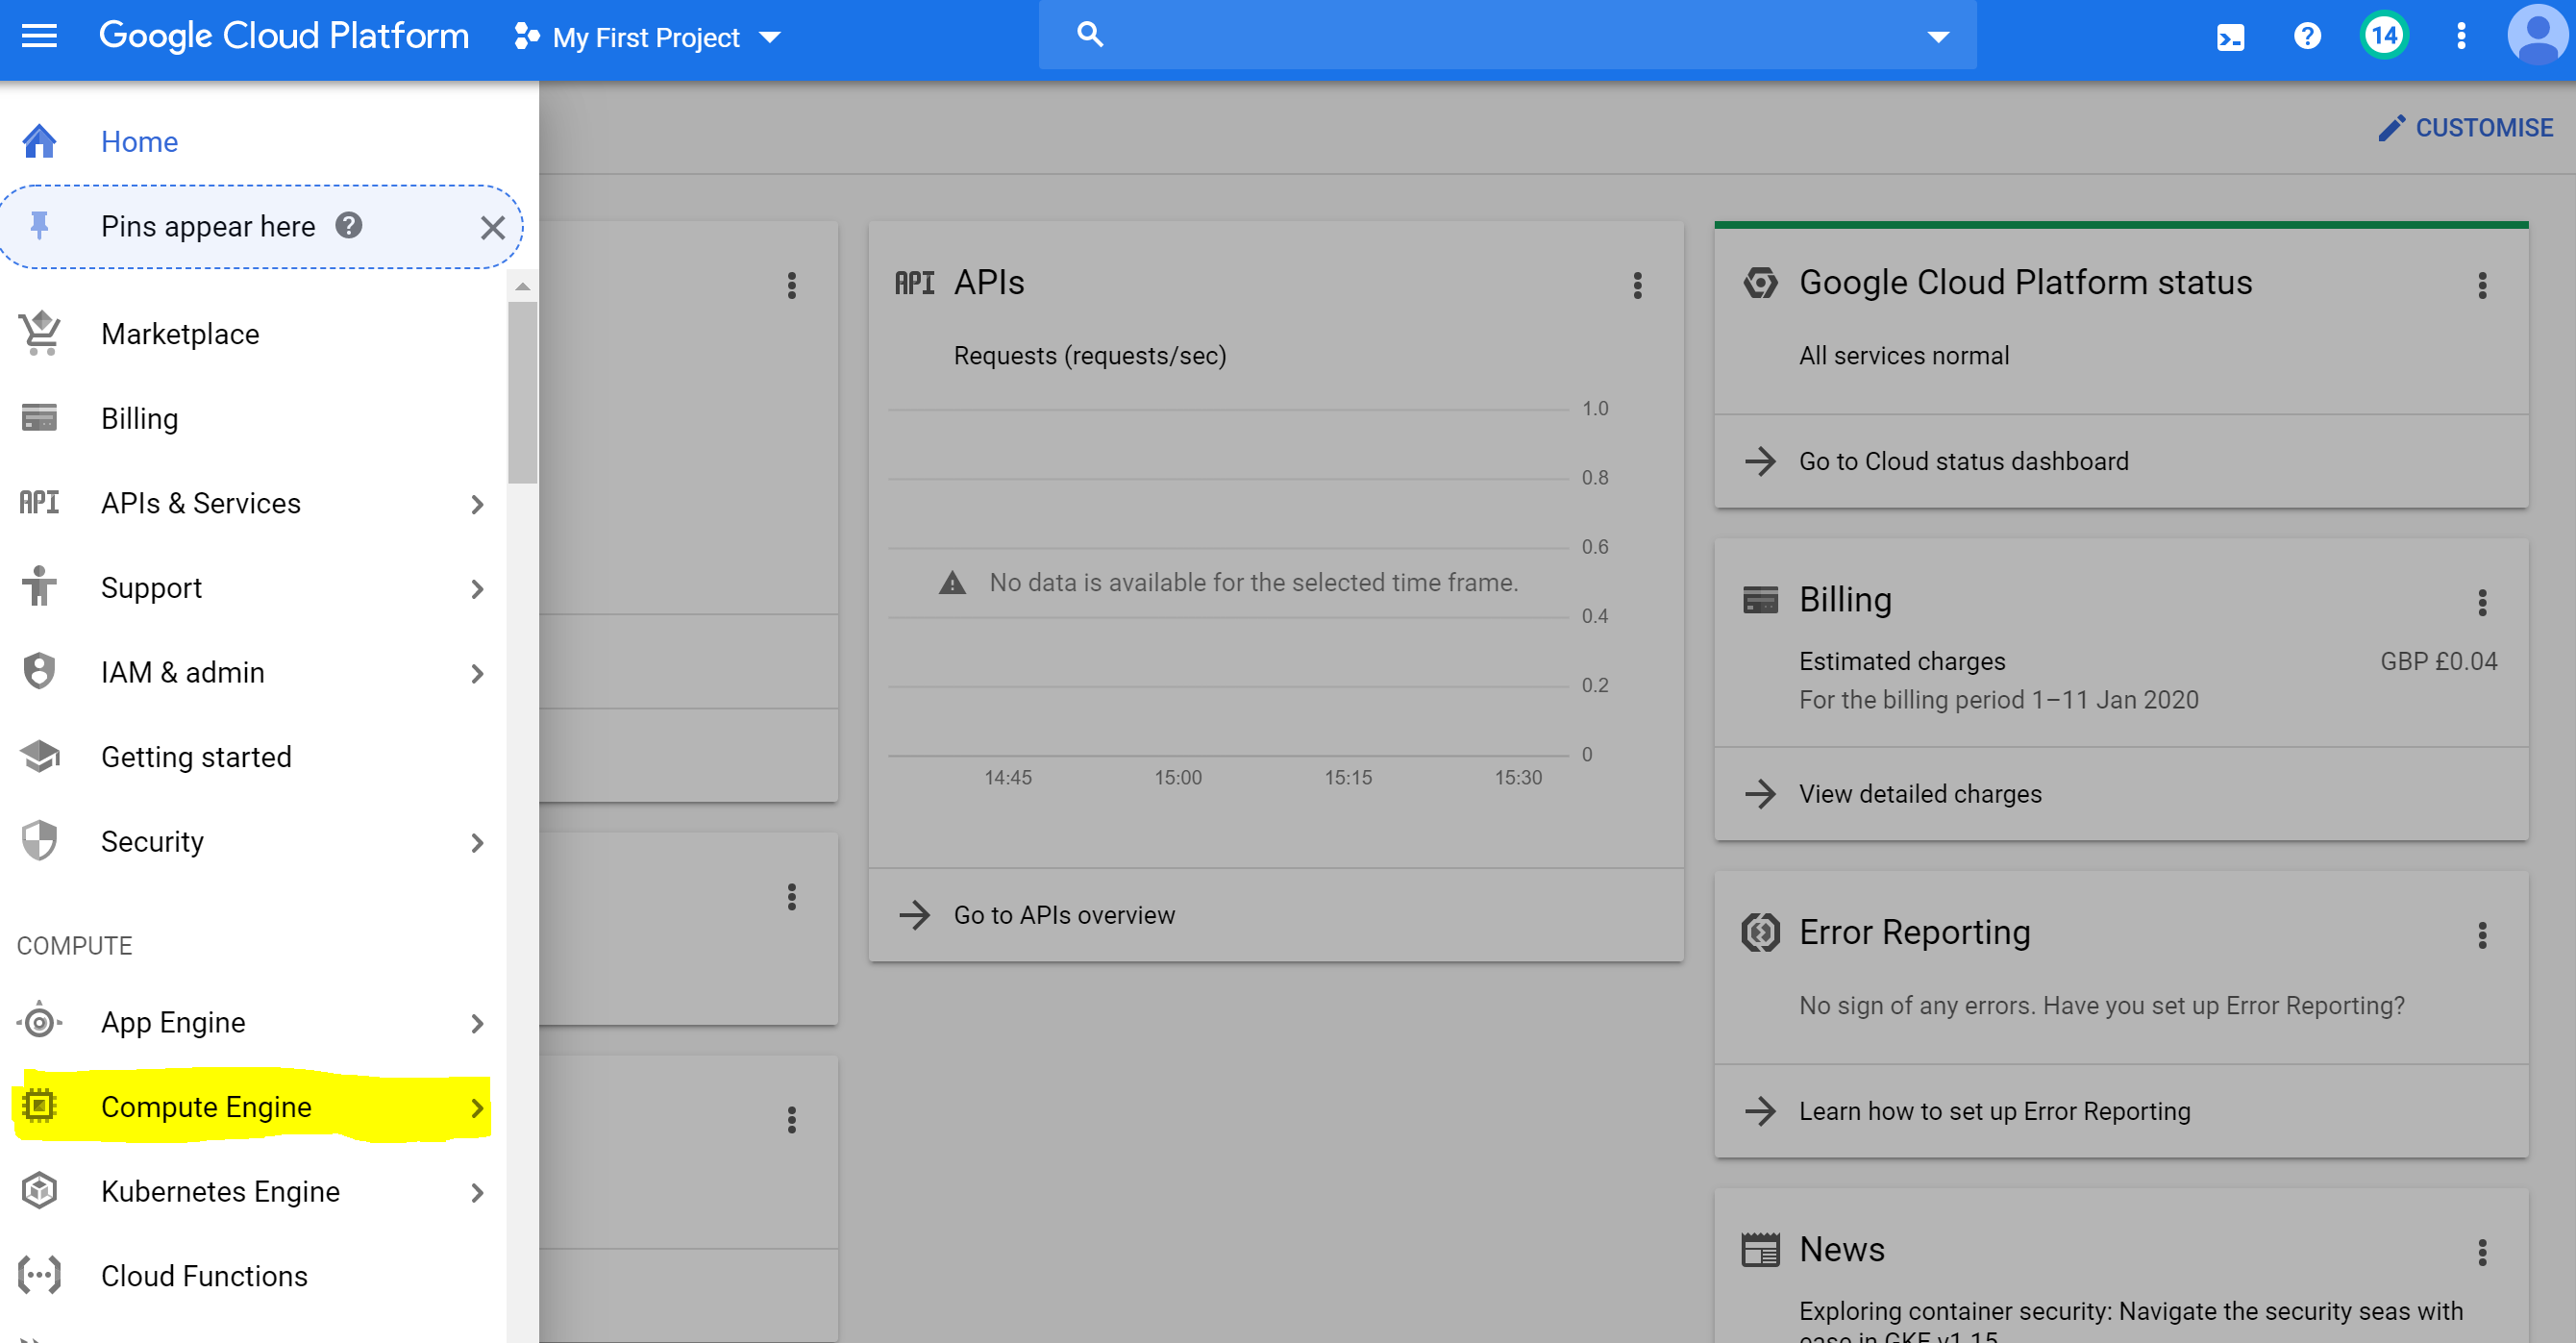
You’ll automatically be set up with a project: “My First Project”.
The next step is to select “Compute Engine” from the left hand menu.
Step 4
You’ll be presented with this prompt box for setting up new VM images. Click “Create” (you might have to wait a minute whilst GCP does some configuration before you’re able to click the button).
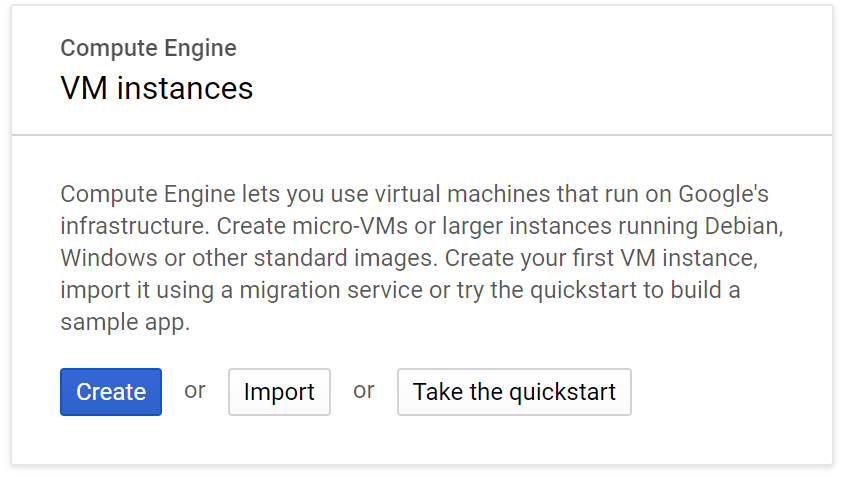
A VM is a “virtual machine”. You are basically setting up a computer on which you will install and run docassemble. Why bother with this cloud stuff? Why not just install it on your machine like any other app? Because it’s a tool that’s designed to be accessed by your clients: you set up a guided interview and make it available to other people. Cloud-deployment is the easiest way of achieving this.
Step 5 (hardest step)
You’ll be presented with a menu of options for your new VM. It should look something like the below. If you like, give your VM a new name (but it doesn’t matter). The location of your VM doesn’t matter either.
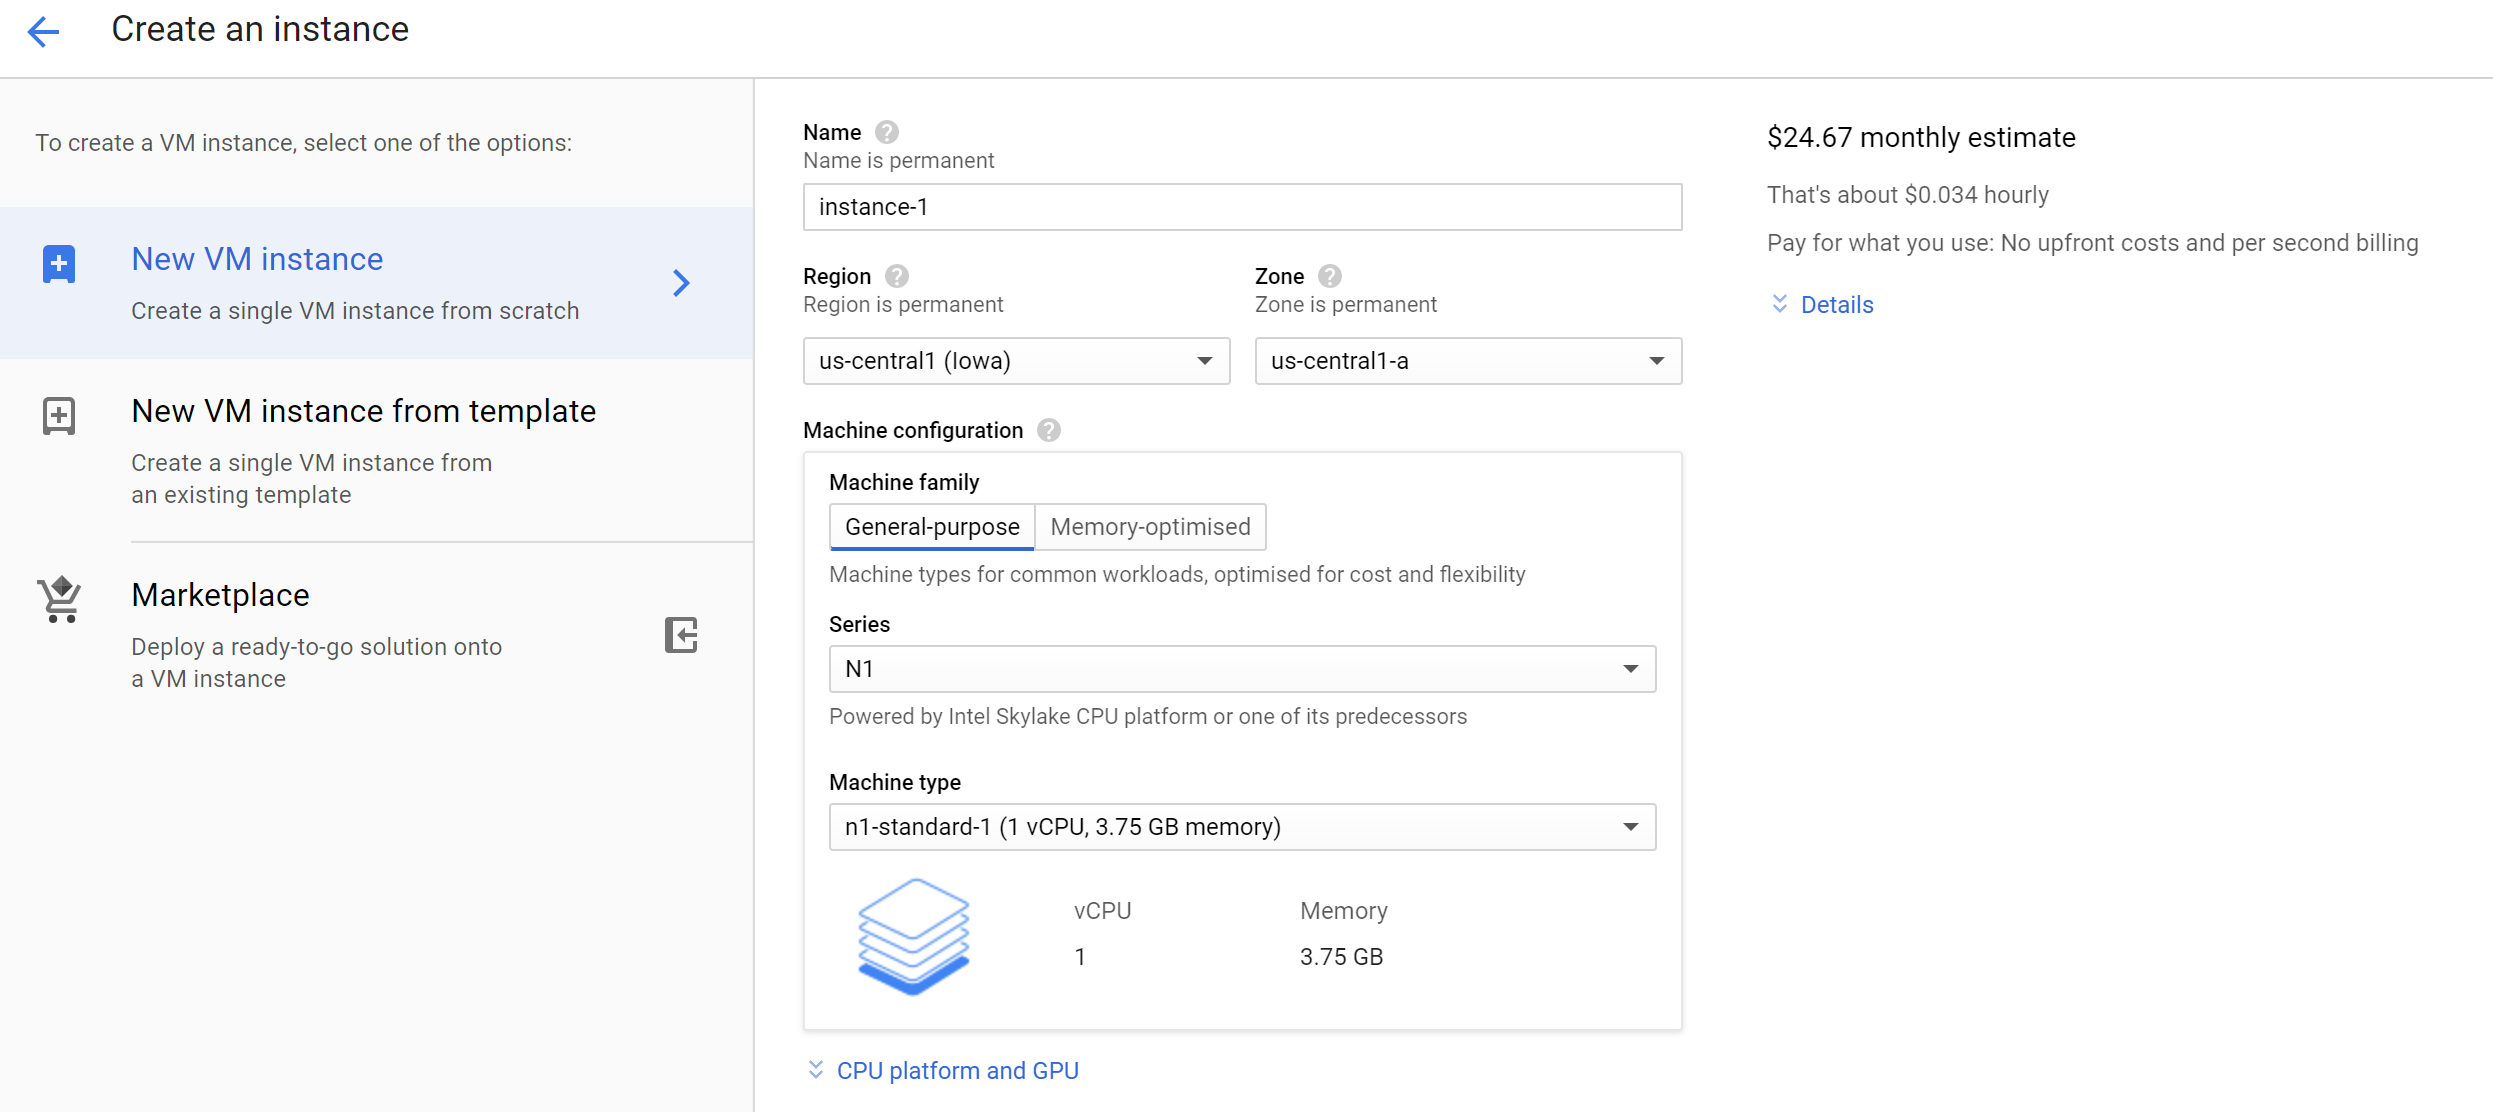
There are 5 things you need to do on this options page:
-
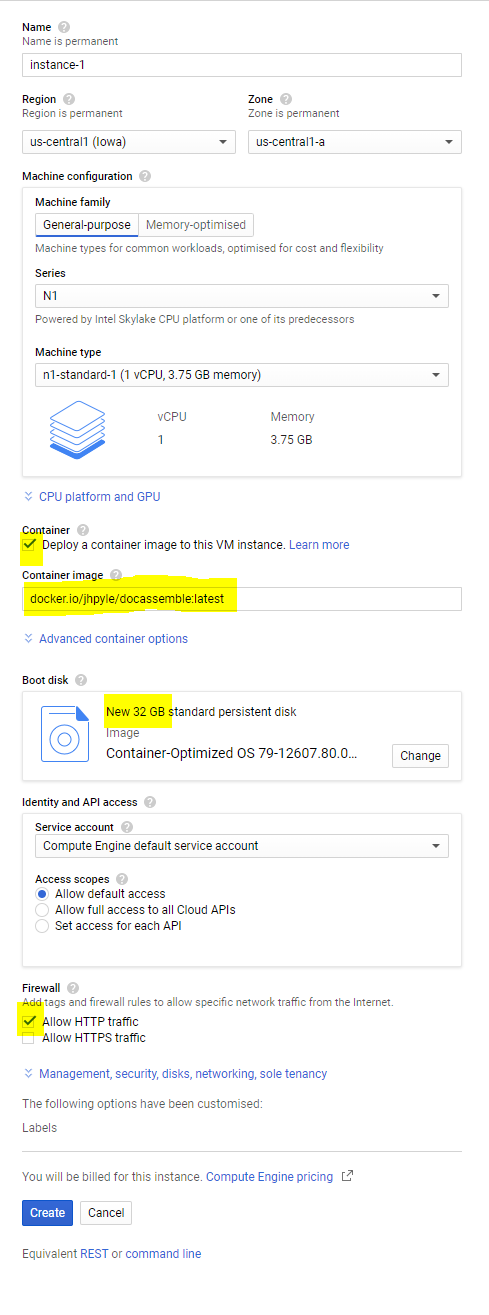
Check the box that says “Deploy a container image to this VM instance”
-
You’ll be asked to enter the container image. In the text prompt, type: “docker.io/jhpyle/docassemble:latest”
-
Next, click “change” on the “Boot disk” settings.
-
A new window will pop up. You’ll see the size of the boot disk is set to 10GB. Change this to 32GB. Hit select to return to the main options window.
-
Finally, in the firewall setting, check the box that say “Allow HTTP traffic”.
Once you’ve made all these changes, your options screen should look something like the below. Hit “Create” at the bottom of the window.
If you want to use docassemble for real interviews with real people you should use HTTPS, not HTTP. That takes a few more setup steps: see the docassemble docs. HTTP is fine for playing around.
Step 6
This will take you back to the VM instance page and, after a few moments, you’ll see your VM instance listed.

Step 7
Go and have a cup of tea. It can take about 15 minutes for docassemble to install and get up and running.

Biscuits are optional. And yes, that is a vintage KitKat.
Step 8
Once you’ve finished your biscuits, go back to the VM instance page and click on your VM’s “External IP” (it will be a different number to the one shown below). This should open up a new browser tab.
If it doesn’t open a new tab, you might need to pause / disable an ad blocker.

Step 9
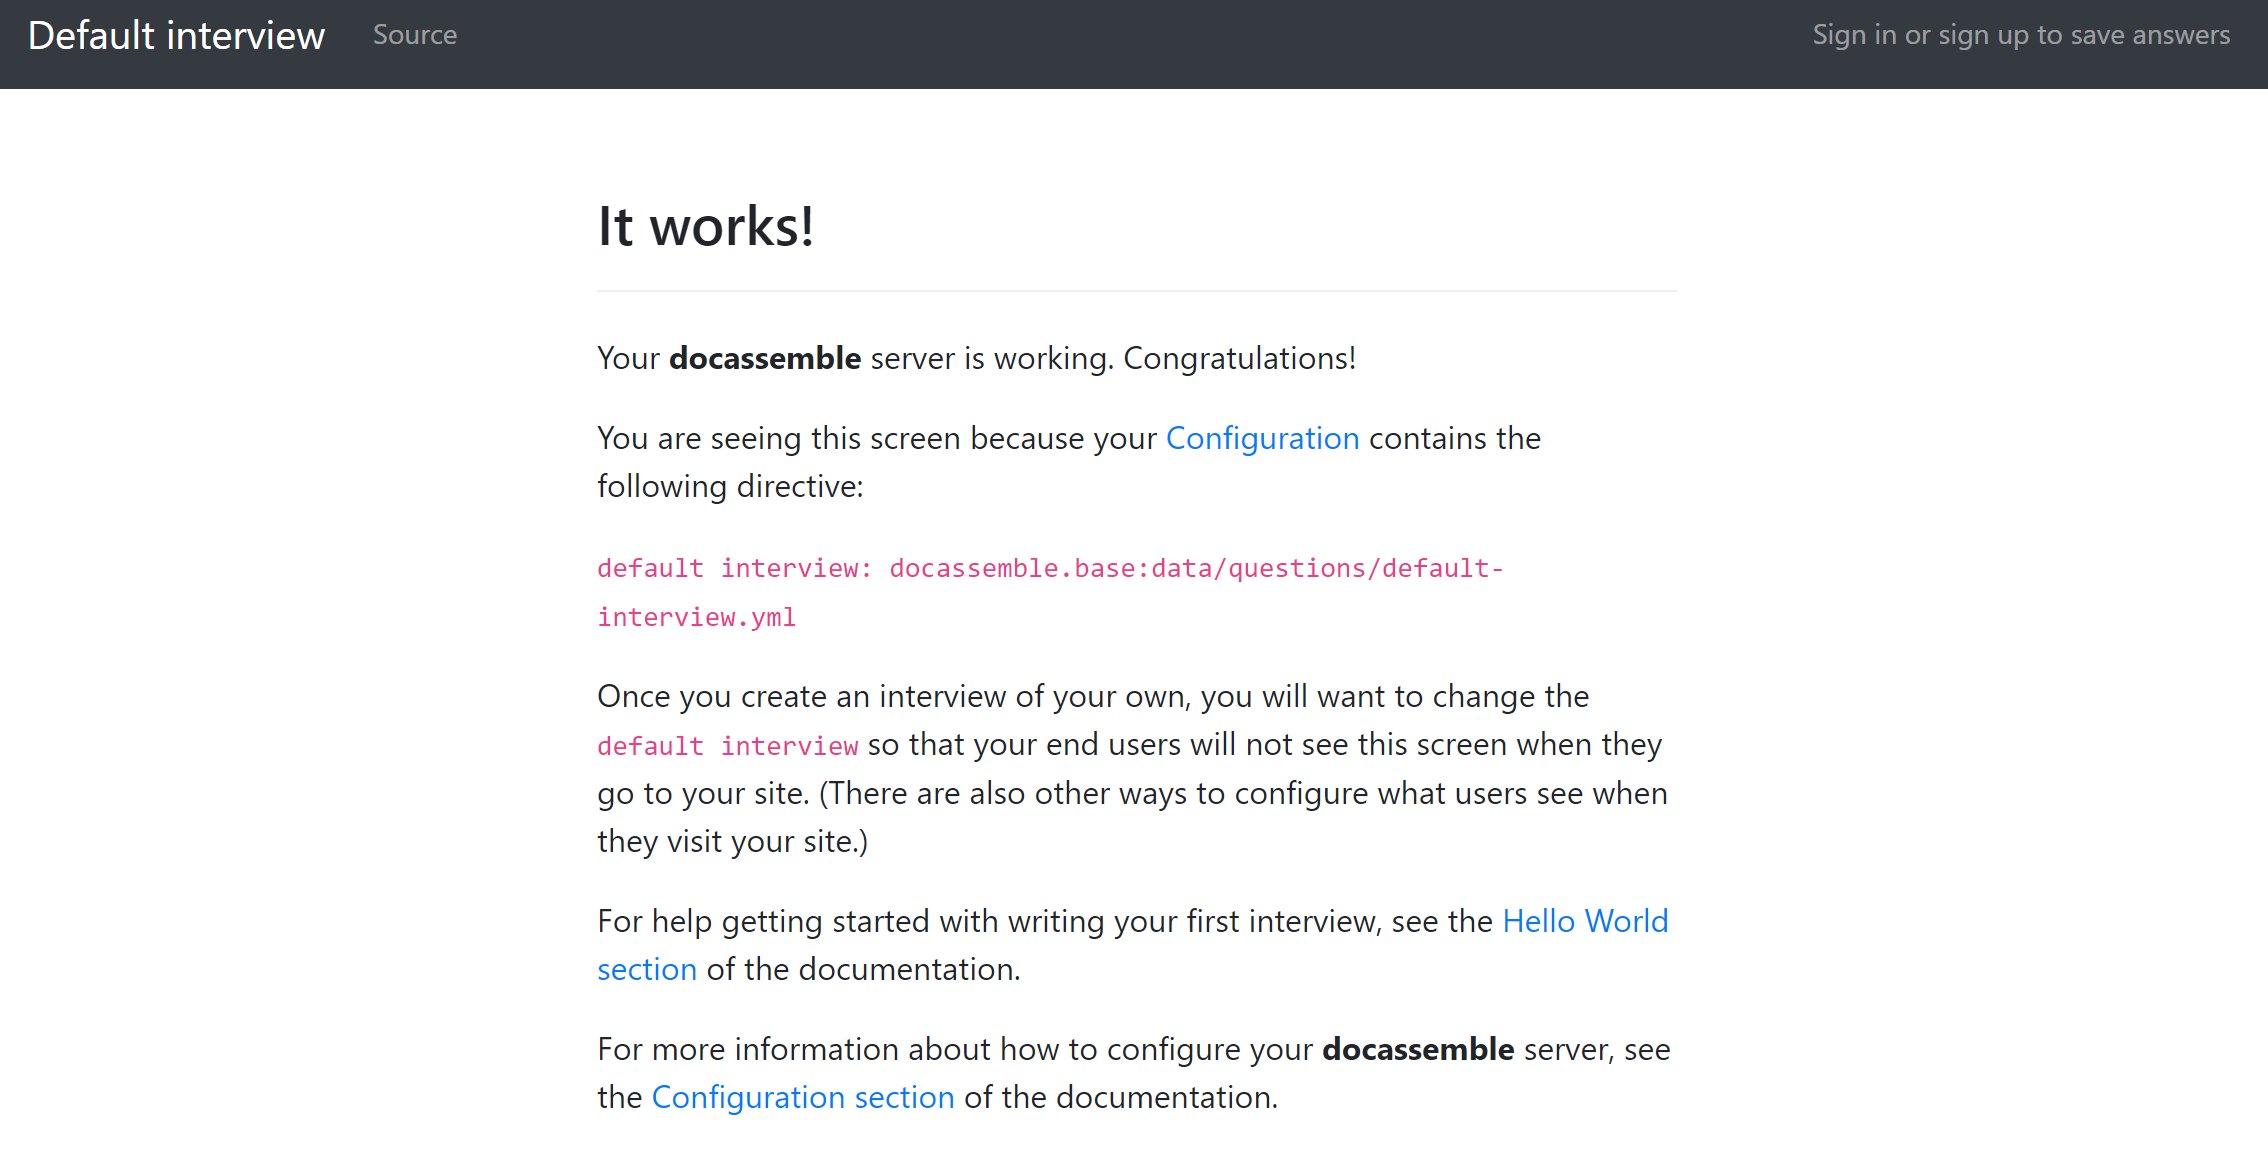
If everything has gone well, you should see the docassemble welcome page. You can now start following the docassmble “hello world” tutorial.
Step 10
To delete your docassemble deployment (to avoid running down your free credits), select the instance and hit the trash bin icon.
If the above didn’t work for you, or if you have any other comments, please do get in touch.